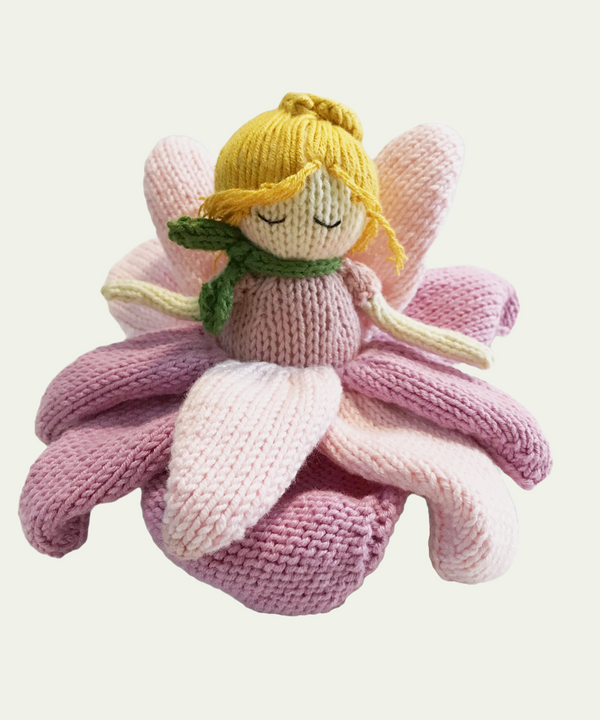
To express my heartfelt thanks for your incredible support in reaching 1,000 followers, I'm delighted to share a special gift with our community: a free knitting pattern for creating your very own super cute tiny hedgehog! Perfect for knitters of all levels, this pattern is designed to be super easy and quick to complete, making it ideal for both beginners and seasoned crafters looking for a fun, fast project. Inside this blog post, you'll find step-by-step instructions, tips for success, and ideas for customizing your hedgehog to make it uniquely yours. Let's celebrate this wonderful milestone together by bringing these adorable little creatures to life. Thank you for being such an important part of this journey – happy knitting!

ABBREVIATIONS
- P: Purl
- K: Knit
- KFB: knit through the front and back loop of the next stitch to increase by one
- K2tog: Knit 2 stitches together
MATERIALS AND TOOLS
- Method: Work flat then close seams using a tapestry
- Knitting Needles: 00 mm
- Yarn: The product in the picture was made with Yarnart Jeans Plus.
- Eyes Buttons: 6mm
WRITTEN PATTERN
Employ the long-tail cast-on technique for all components, unless specified otherwise. Use yellow yarn to cast on 10 stitches for the bodice, ensuring there is approx. 20 cm of yarn remaining.
Row 1 (Wrong side): Purl (10 sts)
Row 2: K2, KFB*7 times, K1 (17 sts)
Row 3 - Row 11: Knit
Change to beige yarn for face skin.
Row 12: Knit (17 sts)
Row 13: Purl (17 sts)
Row 14: K1, (K2tog, K1)*5 times, K1 (12 sts)
Row 15: Purl (12 sts)
Row 16: Knit (12 sts)
Row 17: Purl (12 sts)
Row 18: K1, K2tog*5 times, K1 (7 sts)
Cut yarn, leaving an end of approx. 40 cm/ 16 inches and use the tapestry needle to weave through the remaining 7 stitches. Pull tight.

Thread the remaining yarn onto a needle and sew until reaching the midpoint, then stop.

Then, Sew from the head down to the middle of the back, then proceed to fully stuff the hedgehog. Before finishing to seal the body completely, make sure to stuff the body thoroughly and evenly.

Seal the hedgehog completely by continuing the stitching, then trim the thread and tuck the end into the body at the midpoint of the back to conceal it.

Embroider The Nose On The Hedgehog.

To embroider the nose on the hedgehog as shown in the images, follow these steps:
1. Starting the Embroidery:
- Begin with a piece of brown embroidery floss or
- Thread it through the tapestry
- Cut a length of black embroidery yarn and thread it through a needle. Make sure the yarn is long enough to complete the nose without having to re-thread.
- Anchor the Yarn: Start by inserting the needle from the inside of the hedgehog’s head out to the point where you want the nose to begin. This hides the yarn’s end inside the head. Pull the yarn through, leaving a small end inside that you can later trim or secure so it doesn't
- Outline the Nose: Begin by making a small stitch to form the bottom point of the nose. Then, bring the needle up at the top center of the desired nose area, and make a small vertical stitch downward, connecting back to the bottom point, creating a triangle shape.
- Fill in the Nose: Using satin stitches, which are tight, flat stitches laid next to each other, fill in the triangular nose shape. Start from the bottom and work your way to the top, ensuring that the stitches are close together so that the fabric underneath is not visible.
- Final Stitch: Once the nose is filled, bring the needle down at the bottom point of the nose to finish the shaping.
- Secure the Yarn: Push the needle back through to the inside of the head, pull the yarn through, and secure it with a knot. Alternatively, you can weave the end of the yarn through some of the interior stitches to secure it.
Trim the Excess Yarn: After securing the yarn, trim any excess close to the work so that the end doesn’t protrude. If needed, you can push the needle through the head and out another point, pull tight, and then snip the yarn close to the fabric to hide the end inside the stuffing.
THE END
I'm eagerly anticipating the reveal of your beautiful creations! To share your finished dolls with me, please post a picture on www.meemoodolls.com or directly on my Etsy shop at https://www.etsy.com/shop/meemoodolls. I look forward to celebrating your handiwork!

